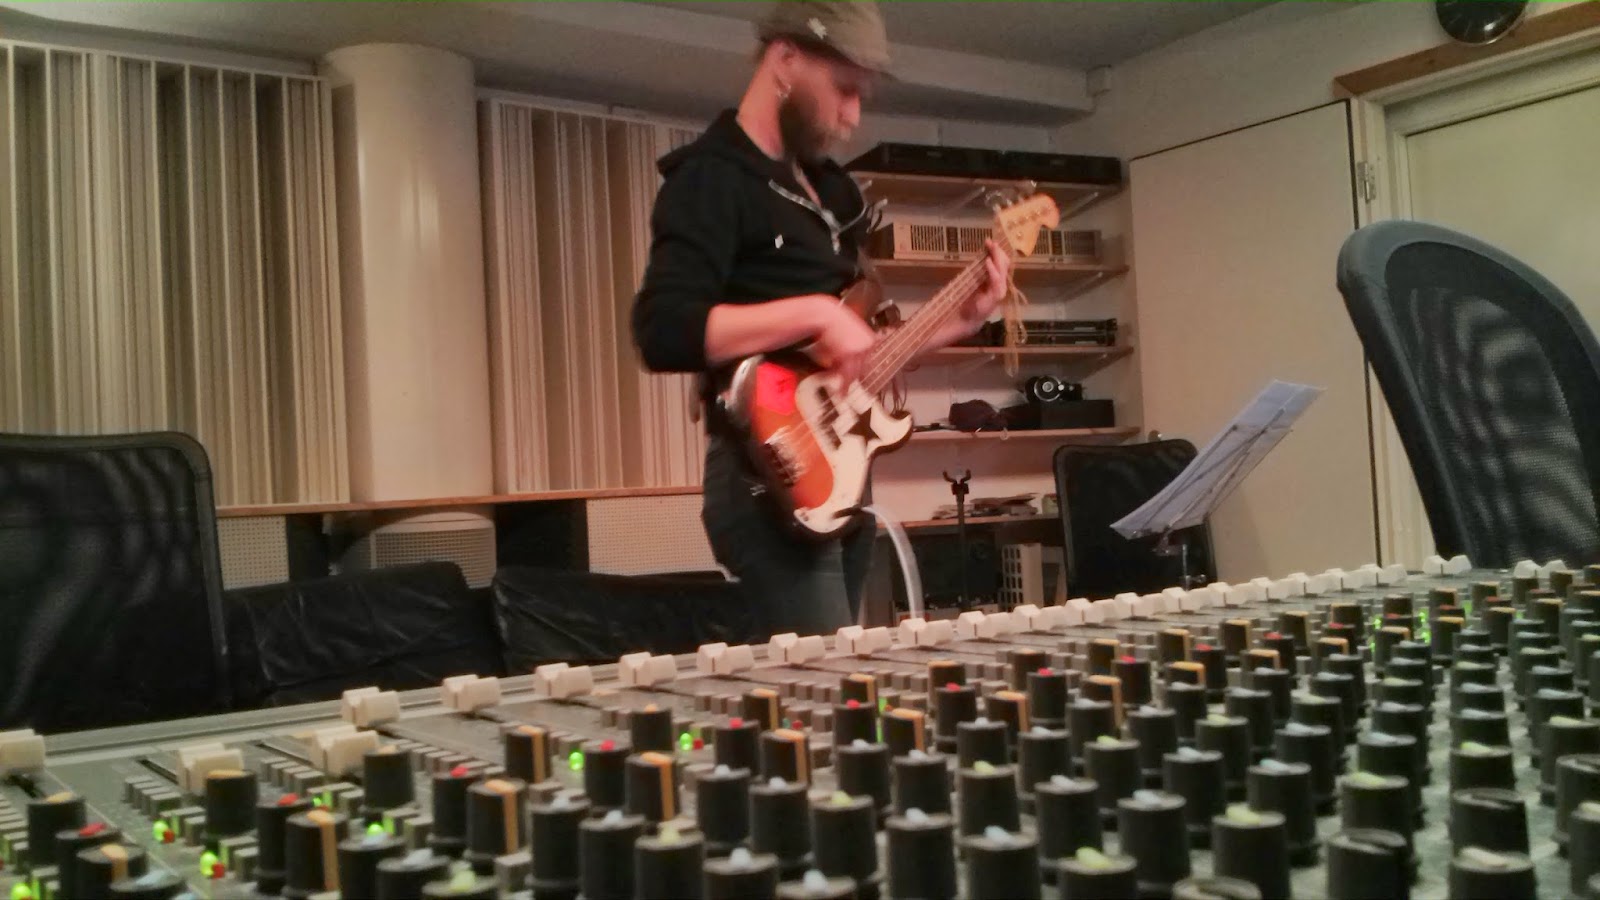
At school (Studio Blue) we used
Protools 10 & 11 for all our productions and tasks, but after two years of using it I still didn't like it that much and I didn't feel that it was worth buying for hundreds of dollars. It wasn't very stable and crashed several times(yep, on a Mac), as compared to
Reason, my main DAW, which I don't think has crashed at all... ever (PC/Mac). Almost every time I used Protools there was always something that I was annoyed with that caused a bit of frustration.
As Reason has very limited features for audio editing, vertical zoom limitation being the most annoying thing (still not fixed in Reason 8), I started using
Reaper as a complement. Reaper is fully functional even in demo mode so you can try it for as long as you like, although you should register after 60 days or so. The pricing is very attractive, just $60 for discounted license (non-commercial/Small Business) and $225 for full commercial license.
As I'm using Reaper more and more, the more I like it which was not the case with Protools. Reaper is very customizable, and basically it's like; if you want to change something, you can! Besides from native plugins found in Protools, as for today I do not know about anything I could do in Protools that I cannot do in Reaper... and Reaper actually make a lot of things better and easier than PT!
There are however a couple of things that I like to change to the default setup of Reaper, and I will share those settings here!
Preferences (Options->Preferences)
1. Audio -> Rendering => Tail length when rendering project or stems, or freezing tracks
This option is set to 2000 ms as default I think, and caused me a bit of a headache before I found it. I did some drums samples editing and when I rendered multiple hits to disk, some of the clips had more than I hit in them, but all my clip-edits were just containing one hit! This option added a tail to the clip which in certain cases also kept the next hit in the series. To keep your clips as long as you specify when making clips, set this option to 0 ms.
2. General -> Paths => Store all peak caches (.reapeaks) in alternate path
Repeaks are files that contain the actual waveform image you see on the screen, and by default these cache files are stored in your default project folder. There will be many .repeaks files, that are of no use outside of Reaper, so I keep them in a separate folder so I don't have to see them.
3. General => Create undo points for item/track selection
I unchecked this as I want the undo function to undo actual changes, instead of just selections.
Project Settings (File -> Project Settings)
Media tab => Path to save media files (can be relative, leave blank for same path as project file)
By default all recorded files are saved in the same folder as your project file. In Protools all audio files are saved in a folder called "Audio Files" which is a better and cleaner option. Just type in a folder name, i use Audio Files, and your project folder will be more organized.
Options menu => Trim content behind media items when editing
One thing I got used to in Protools was when pasting a clip over another clip, the 'background clip' was automatically trimmed, and there was only one layer of clips. By default in Reaper, when you paste a clip onto another there are two layers, and the background clip remains intact. To change this, just select the option
"Trim content behind media items when editing" from the Options menu. To make this selection permanent in all new projects, go to File -> Project Settings and click "Save as default project settings".
Besides from the above settings I also made my own shortcuts, which now is a combination of Reason and Protools shortcuts. You can change any shortcut to your liking, and even import / export them.
I'm also using the
RADO V4 theme which I think looks great!
Don't forget to install the
SWS Extension which adds more great features to Reaper, like a loudness analyzer...
...and the great Snapshot function where you can compare different mixer settings.
I hope you found this helpful! :)


